Quick way to grow with 5 meat chopper
Introduction
Have you ever tried breaking up ground beef in a hot pan using a wooden spoon only to end up with uneven chunks and sore wrists? I know this struggle all too well from my own kitchen experiences. This is where a good quality meat chopper becomes your best friend. Let me tell you, once I discovered the right meat chopper, my cooking game changed completely. From perfectly crumbled taco meat to evenly textured burger patties, this simple yet powerful kitchen tool transformed how I handle ground meats.
In this article, I will walk you through everything you need to know about choosing and using the best meat chopper. We will cover the essential materials, step by step instructions for getting the most out of your tool, common mistakes to avoid, and tips that will help both beginners and experienced home cooks. Whether you are searching for a Burger Smasher, meat masher, hamburger grinder, Nylon Meat Chopper, or general kitchen tools to improve your meal prep, this guide has you covered.
Materials and Supplies
Before we dive into using your new kitchen companion, let me share what you need to have on hand to make the most of your cooking experience.
Essential Items
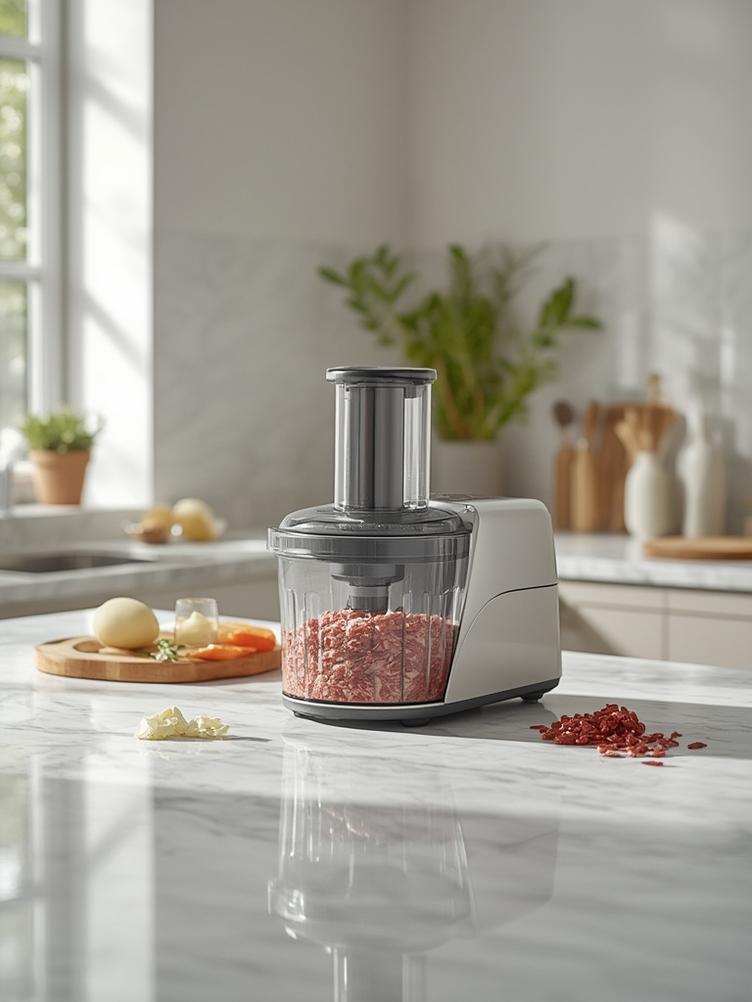
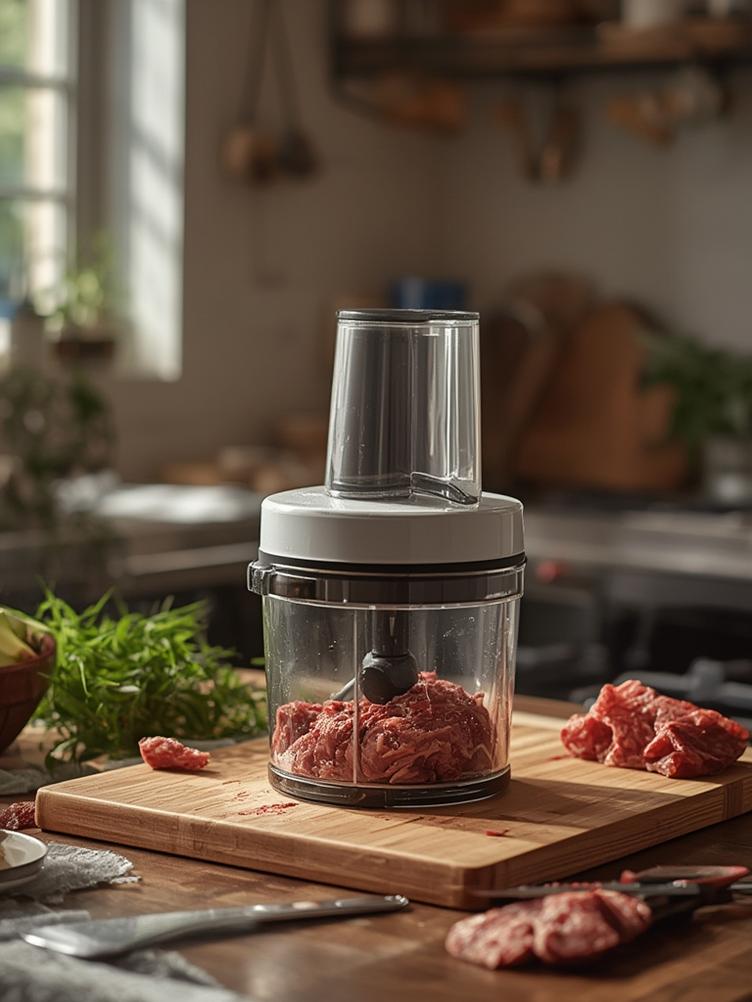
Quality Meat Chopper: This is your main tool. Look for one made from heat resistant nylon or food grade plastic. From my experience, nylon choppers work best because they do not scratch your nonstick pans and they can handle high heat without melting.
Nonstick Skillet or Pan: A good cooking surface makes all the difference. The chopper works beautifully with nonstick surfaces, allowing you to break up meat without damaging the coating.
Spatula: Keep a regular spatula nearby for scraping and moving meat around the pan. Trust me, having both tools working together speeds up the process.
Optional Items
Meat Thermometer: This helps ensure your ground meat reaches the safe internal temperature of 160 degrees Fahrenheit. Safety first in the kitchen, always.
Splatter Screen: Ground meat can make quite a mess when cooking. A splatter screen keeps your stovetop clean while you work.
Storage Container: If you are meal prepping, having containers ready helps you portion and store cooked meat immediately.
Possible Alternatives
If you do not have a dedicated meat chopper yet, you can temporarily use a potato masher, but honestly, it does not compare. A sturdy wooden spoon can work in a pinch, but you will quickly realize why investing in the proper tool makes sense.
Step by Step Instructions
Let me walk you through the exact process I use every time I cook ground meat with my meat chopper. These steps will help you achieve restaurant quality results right in your home kitchen.
Step 1: Start by heating your skillet over medium high heat. Add a small amount of oil if needed, though lean ground beef usually does not require any. Wait until the pan is properly heated before adding meat.
Tip: Test the heat by sprinkling a few drops of water. If they sizzle and evaporate quickly, your pan is ready.
Step 2: Add your ground meat to the hot pan. Do not break it up immediately. Let it sit for about 30 seconds to develop a slight sear on the bottom.
Tip: This initial sear adds flavor and prevents the meat from sticking too much to the pan surface.
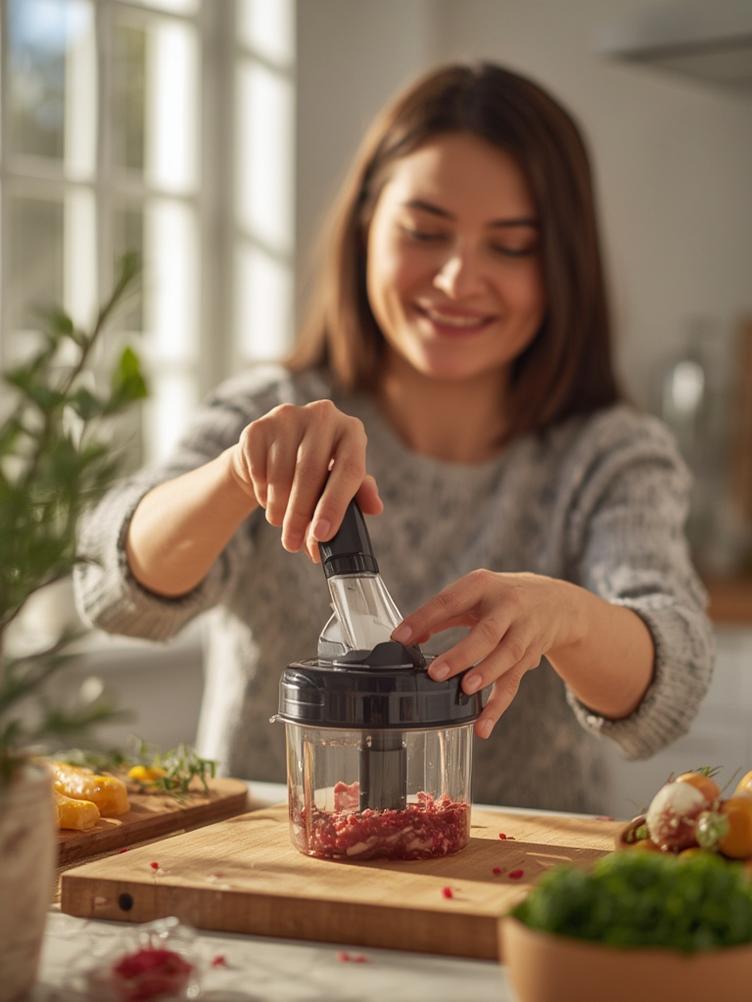
Step 3: Now grab your meat chopper and start pressing down on the meat with a firm, controlled motion. Use a twisting action as you press to break up large chunks.
Tip: Work in sections rather than trying to chop everything at once. This gives you better control and more even results.
Step 4: Continue chopping and stirring the meat as it cooks. The beauty of a proper Burger Smasher, meat masher, hamburger grinder, Nylon Meat Chopper, kitchen tools is how quickly it breaks down the meat into uniform small pieces.
Tip: Keep the meat moving to prevent burning and ensure even cooking throughout.
Step 5: Once the meat is fully browned and broken into your desired consistency, drain excess fat if necessary. Your perfectly chopped ground meat is now ready for tacos, pasta sauce, casseroles, or whatever recipe you are preparing.
Tip: For taco meat, I like slightly larger crumbles. For spaghetti sauce, I go for finer pieces. Adjust your chopping intensity based on your final dish.
Advantages and Culinary Benefits
Using a dedicated meat chopper has transformed my kitchen routine in ways I never expected. Let me share the real benefits I have experienced.
First, the time savings are incredible. What used to take me 10 minutes of awkward stirring and mashing now takes about 3 minutes. You can break up a pound of ground beef completely in the time it takes the pan to fully heat.
Second, consistency matters more than most people realize. When your ground meat cooks in uniform pieces, it absorbs seasonings evenly and cooks at the same rate. No more biting into a taco with some parts dry and others perfectly seasoned.
From a health and safety perspective, using the right tool means less splatter and fewer burns from hot grease. I used to get tiny oil burns on my hands regularly when using a spoon. Since switching to a proper chopper with a longer handle, that problem disappeared completely.
The tool also reduces stress on your hands and wrists. If you cook ground meat frequently, you know how tiring it can be to stir and mash with traditional utensils. A meat chopper requires less repetitive motion and puts less strain on your joints.
Economically, this simple tool helps you use ground meat more efficiently. Better breakdown means better browning, which means better flavor, which means you need less meat overall to create satisfying meals. I have noticed I can stretch a pound of ground beef further than before.
Cleanup is surprisingly easier too. Unlike mashers with multiple wires or slots where meat gets stuck, a simple chopper rinses clean in seconds. Most are dishwasher safe, making them even more convenient for busy weeknight cooking.
Common Mistakes to Avoid
Through years of cooking and testing different tools, I have made plenty of mistakes. Let me help you avoid the same pitfalls.
Mistake 1: Using Metal Choppers on Nonstick Pans
I made this mistake myself early on and scratched a brand new skillet. Metal tools and nonstick surfaces do not mix. Always choose nylon or heat resistant plastic choppers for nonstick cookware. If you have stainless steel or cast iron pans, metal is fine, but for most home cooking, nylon is your safest bet.
Mistake 2: Adding Meat to a Cold Pan
When you add ground meat to a cold or barely warm pan, it steams instead of browns. This creates a gray, unappetizing texture. Always preheat your pan properly. The meat should sizzle when it hits the surface. Trust me, this one simple change will dramatically improve your results.
Mistake 3: Chopping Too Aggressively Too Soon
I used to attack the meat immediately with my chopper, which actually compacted it and made it harder to break apart. Let the meat sit for 30 to 60 seconds first, then start with gentle pressing motions before moving to more aggressive chopping. This approach gives you better texture and less effort.
Mistake 4: Overcrowding the Pan
When you add too much meat at once, the temperature drops and the meat steams in its own moisture. Cook in batches if you are preparing large quantities. For a standard 10 inch skillet, one to one and a half pounds is the maximum for best results.
Mistake 5: Not Cleaning the Chopper Immediately
Ground meat fat solidifies quickly as it cools. If you leave your chopper sitting with meat residue, cleaning becomes much harder. Rinse it under hot water right after cooking, and most residue washes away instantly. This 10 second habit saves you scrubbing time later.
FAQs
What material is best for a meat chopper?
From my experience, heat resistant nylon is the winner for most home cooks. It handles temperatures up to 400 degrees, works with all cookware types, and will not scratch your pans. Food grade plastic works too but check the heat rating. Avoid cheap plastic that might melt or warp.
Can I use a meat chopper for other foods?
Absolutely. I use mine for mashing cooked beans, breaking up canned tomatoes, mixing scrambled eggs while cooking, and even mashing sweet potatoes right in the pot. The tool is more versatile than its name suggests. Any food that needs breaking down or mixing while cooking works great.
How do I know if my meat chopper is dishwasher safe?
Check the product packaging or description. Most quality nylon choppers are top rack dishwasher safe. However, I usually just rinse mine under hot water right after use, which takes five seconds and keeps it in perfect condition. Hand washing extends the life of most kitchen tools.
Will a meat chopper work with frozen ground meat?
Not effectively, and I do not recommend it. The tool is designed for raw or cooking meat that has some give. Frozen meat is too hard and you risk breaking your chopper or the handle. Always thaw your ground meat in the refrigerator before cooking for best and safest results.
How long does a good meat chopper typically last?
With proper care, a quality nylon chopper should last years. Mine is going on three years of regular use, several times per week, and still looks almost new. Avoid exposing it to extreme heat, do not use it on frozen foods, and clean it properly. These simple steps ensure longevity.
Tips and Alternative Methods
Let me share some creative ways to maximize your meat chopper and adapt it to different cooking situations.
For Small Kitchens: Storage space is precious. Look for choppers with hanging holes in the handle. I hang mine on a small hook inside my pantry door. It takes up zero counter or drawer space but stays easily accessible.
Budget Friendly Approach: If you are not ready to invest in multiple tools, start with one quality meat chopper. Use it for ground meats, then expand to other specialized tools as your budget allows. One good tool beats five cheap ones that break quickly.
For Beginners: Start with ground turkey or chicken, which are softer and easier to break apart than beef. This helps you get comfortable with the tool and technique. Once you master the motion, moving to ground beef feels natural.
Professional Technique: Restaurant cooks often use two choppers simultaneously, one in each hand, to break down large quantities of meat quickly. While this might be overkill for home cooking, it shows the efficiency potential of this simple tool.
Meal Prep Innovation: Use your chopper to break down several pounds of meat at once. Cook it plain, portion it into containers, and freeze. Later, you can quickly add different seasonings to create various meals. This saves massive amounts of time during busy weeks.
Texture Variation: For dishes like meatloaf or meatballs where you want some texture, use the chopper gently and leave slightly larger pieces. For sauces where you want fine meat, chop more aggressively for several minutes until you achieve almost a ground paste consistency.
Alternative Method for Outdoor Cooking: Believe it or not, your meat chopper works great on a flat top grill or griddle. I use mine when making smash burgers outdoors. The heat resistant material handles the high temperatures, and you get perfect burger texture every time.
Conclusion
We have covered everything you need to know about choosing and using a quality meat chopper in your kitchen. From selecting the right material to mastering the technique, this simple tool offers remarkable benefits for anyone who cooks ground meat regularly.
The key takeaways are simple. Invest in a heat resistant nylon meat chopper that works with your cookware. Preheat your pan properly before adding meat. Use controlled pressing and twisting motions for best results. Clean your tool immediately after use to keep it in perfect condition.
Remember that cooking is about making your life easier while creating delicious meals for yourself and your loved ones. The right Burger Smasher, meat masher, hamburger grinder, Nylon Meat Chopper, kitchen tools does exactly that.
I encourage you to try these techniques in your own kitchen. Start with a simple recipe like taco meat or spaghetti sauce. Notice how much easier and faster the process becomes. Share your results with friends and family who also love cooking.
What is your favorite way to use ground meat in recipes? Have you discovered any clever tricks with your kitchen tools? I would love to hear about your experiences. Feel free to explore more kitchen tool reviews and cooking tips on our site to continue improving your culinary skills.
Final Verdict and Overall Recommendation
After years of cooking with various tools and methods, I can confidently say that adding a quality meat chopper to your kitchen arsenal is one of the smartest investments you can make. The difference in cooking speed, food consistency, and overall ease is remarkable.
If you are ready to transform how you cook ground meat and experience the benefits we have discussed throughout this article, I highly recommend checking out the top rated options available. The time savings alone will pay for the tool within weeks, not to mention the improved taste and texture of your meals.
Stop struggling with inadequate utensils that make cooking harder than it needs to be. Click here to view my recommended meat choppers and choose the one that fits your kitchen needs perfectly: Get Your Professional Meat Chopper Now
Your future self will thank you every time you cook ground beef, turkey, or chicken. Make the smart choice today and elevate your cooking experience to the next level. You deserve tools that work as hard as you do in the kitchen.