Best way to grow 3 lb chicken shredder recipe
Introduction
Have you ever spent what feels like forever pulling apart a freshly cooked chicken with two forks only to end up with uneven shreds and sore hands? Trust me, I have been there too many times. The good news is that there is a much easier way to handle this task, and it starts with the right kitchen tool. Using a chicken shredder can completely transform how you prepare shredded chicken for tacos, sandwiches, salads, and so much more. In this guide, I am going to share my personal experience with shredding a 3 lb chicken using a Meat Shredder Tool, including step by step instructions, helpful tips, common mistakes to avoid, and alternative methods that work like magic in your kitchen. Whether you are a busy parent, meal prep enthusiast, or someone who loves home cooked meals without the hassle, this post will show you exactly how to make tender perfectly shredded chicken in minutes.
Materials and Supplies
Before we dive into the process, let me walk you through everything you will need to make this recipe a success.
Essential Tools
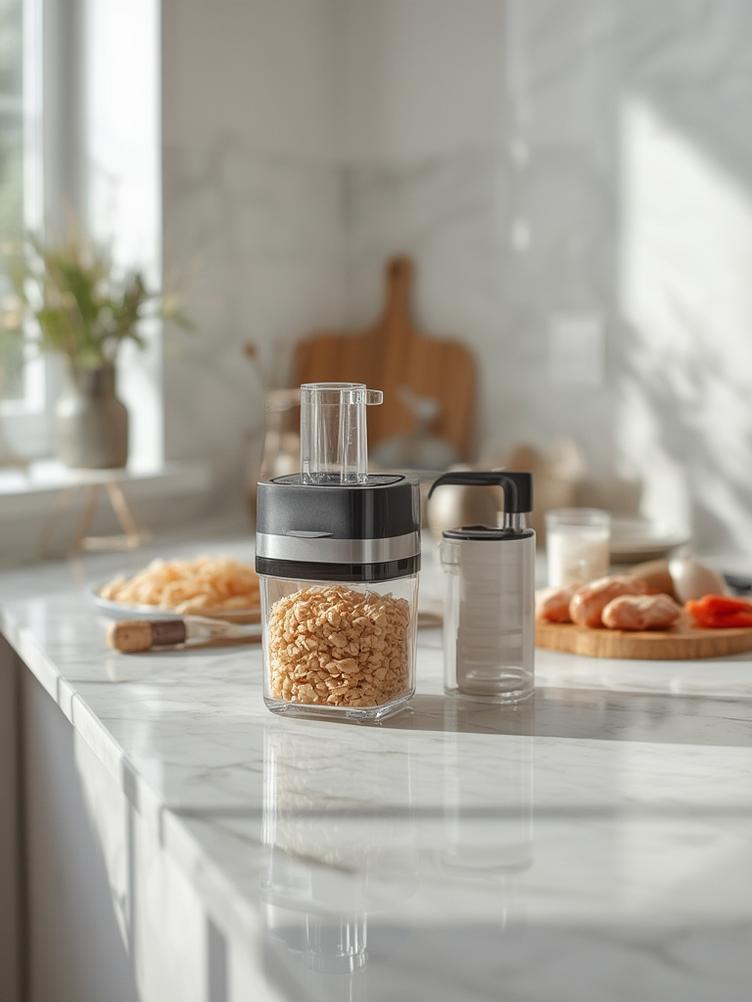
Chicken Shredder or Meat Shredder Tool: This is the star of the show. From my experience, a quality shredder with sturdy handles and sharp claws makes all the difference. It saves you time and energy while giving you consistent results every single time.
Large Pot or Slow Cooker: You need something big enough to cook your 3 lb chicken comfortably. I prefer using a slow cooker because it keeps the chicken moist and tender.
Meat Thermometer: Safety first. You want to make sure your chicken reaches an internal temperature of 165 degrees Fahrenheit to ensure it is fully cooked.
Cutting Board: Use a large board with a groove around the edge to catch any juices. This keeps your counter clean and makes cleanup easier.
Tongs or Slotted Spoon: For transferring the cooked chicken from the pot to your shredding surface without burning your hands.
Optional Tools
Kitchen Gloves: Heat resistant gloves help if you want to handle the chicken while it is still warm.
Mixing Bowl: To toss the shredded chicken with your favorite seasonings or sauces.
Measuring Cups and Spoons: For adding broth, spices, or liquids during cooking.
Possible Alternatives
Two Forks: If you do not have a dedicated shredder tool yet, two sturdy forks can work, but let me tell you, it takes much longer and your hands will feel it.
Stand Mixer with Paddle Attachment: Some people swear by this method. Just place cooked chicken in the mixer bowl and run it on low speed for a few seconds. It works but can be messy.
Your Hands: Once the chicken cools down a bit, you can pull it apart manually. Just be prepared for a longer process and less uniform shreds.
Step by Step Instructions
Let me walk you through the entire process from start to finish. These steps have worked beautifully for me every time I prepare shredded chicken.
Step 1: Start by preparing your 3 lb chicken. Rinse it under cold water and pat it dry with paper towels. This removes any unwanted residue and helps seasonings stick better.
Tip: Season the chicken generously with salt, pepper, garlic powder, and a bit of paprika before cooking. This builds flavor from the inside out.
Step 2: Place the chicken in your large pot or slow cooker. Add enough chicken broth or water to cover about halfway up the chicken. You can also add onions, carrots, or celery for extra flavor.
Tip: I like to add a bay leaf and some fresh thyme. It makes the whole kitchen smell amazing and adds depth to the meat.
Step 3: Cook the chicken until it is fully done. If you are using a stovetop pot, bring it to a boil then reduce heat and simmer for about 60 to 75 minutes. For a slow cooker, set it on low for 6 to 7 hours or high for 3 to 4 hours.
Tip: Always check the thickest part of the chicken with a meat thermometer. It should read 165 degrees Fahrenheit or higher.
Step 4: Carefully remove the chicken from the pot using tongs or a slotted spoon. Let it rest on your cutting board for about 5 to 10 minutes. This allows the juices to redistribute and makes shredding easier.
Tip: Save the cooking liquid. You can use it later to moisten the shredded chicken or as a base for soups and sauces.
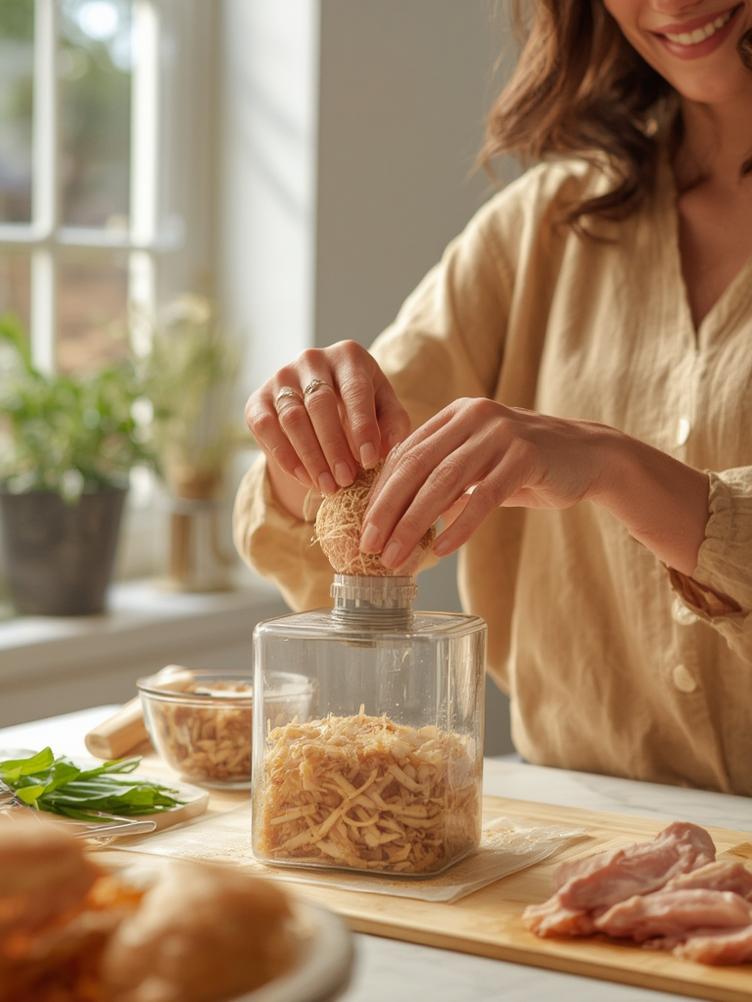
Step 5: Now it is time to use your chicken shredder. Place the chicken on a sturdy surface and use the Meat Shredder Tool to pull the meat apart. Hold one shredder in each hand and press down while pulling in opposite directions.
Tip: Work in small sections and twist your wrists slightly as you pull. This creates perfect tender shreds without mashing the meat.
Step 6: Continue shredding until all the chicken is pulled apart. Discard any bones, skin, or cartilage you come across.
Tip: If the chicken feels dry, add a few spoonfuls of the reserved cooking liquid to keep it moist and flavorful.
Step 7: Transfer the shredded chicken to a mixing bowl. Toss it with your favorite seasonings, sauces, or marinades. This is where you can get creative with barbecue sauce, buffalo sauce, taco seasoning, or even a simple drizzle of olive oil and lemon juice.
Tip: Taste as you go. You can always add more seasoning but you cannot take it away.
Advantages and Culinary Benefits
Using a dedicated shredder tool in your kitchen comes with so many benefits that go beyond just saving time.
Speed and Efficiency: From my experience, shredding a whole 3 lb chicken with a proper tool takes less than 5 minutes. Compare that to 15 or 20 minutes with forks, and you can see why this tool is a game changer.
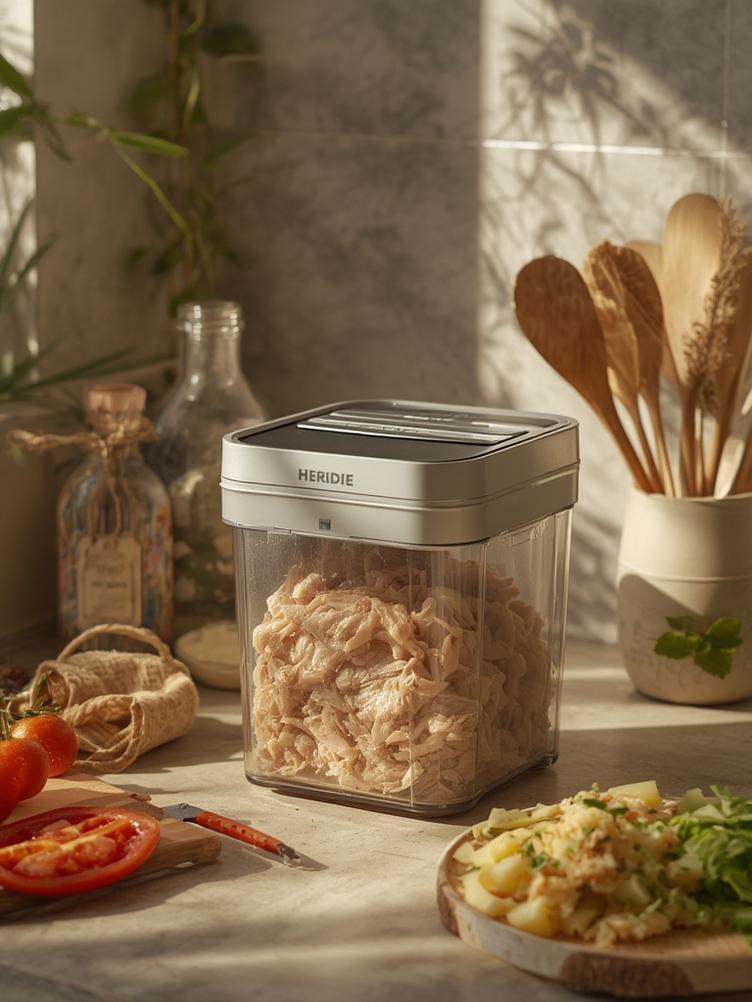
Consistency: You get evenly shredded chicken every single time. This means better texture in your dishes and a more professional presentation.
Versatility: You can use the same tool for pulled pork, shredded beef, turkey, and even vegetables like cooked sweet potatoes or squash. It is not just a one trick pony.
Comfort and Safety: No more sore hands or burned fingers. The handles are designed to keep your hands away from hot meat, and the ergonomic design reduces strain on your wrists.
Healthier Cooking: When you shred your own chicken at home, you control the ingredients. No preservatives, no hidden sodium, and no unnecessary additives. You know exactly what goes into your meals.
Cost Effective: Buying whole chickens is often cheaper than buying pre shredded meat. Plus, you can use the leftover bones and cooking liquid to make homemade broth.
Eco Friendly: By cooking and shredding your own chicken, you reduce packaging waste from store bought shredded meat. It is a small step toward a more sustainable kitchen.
Common Mistakes to Avoid
Let me share some mistakes I have made myself so you can skip the learning curve.
Mistake 1: Shredding the Chicken While It Is Too Hot
When I first started, I was too eager and tried shredding chicken right out of the pot. The result was burned fingers and frustration. The solution is simple. Let the chicken rest for at least 5 to 10 minutes before shredding. It will still be warm enough to shred easily but cool enough to handle safely.
Mistake 2: Overcooking the Chicken
Overcooked chicken becomes dry and tough, making it harder to shred and less enjoyable to eat. I made this mistake myself when I left the chicken in the slow cooker for too long. Always use a meat thermometer and remove the chicken as soon as it reaches 165 degrees Fahrenheit. Trust me, this small step makes a huge difference.
Mistake 3: Using Dull or Flimsy Tools
I once tried using a cheap plastic shredder, and it broke halfway through the job. Investing in a sturdy, high quality tool saves you money and headaches in the long run. Look for shredders made from durable materials like BPA free plastic or stainless steel.
Mistake 4: Not Saving the Cooking Liquid
Throwing away the broth after cooking is like tossing flavor down the drain. I learned this the hard way. Now I always save at least a cup or two to moisten the shredded chicken or use in other recipes. It adds so much richness and keeps the meat from drying out.
Mistake 5: Skipping the Seasoning Step
Plain shredded chicken is boring. Even if you plan to add sauce later, seasoning the chicken before and after cooking makes a world of difference. Do not skip this step. A little salt, pepper, and garlic powder go a long way.
FAQs
Q1: Can I use a chicken shredder on frozen chicken?
No, you should never try to shred frozen chicken. Always cook the chicken fully first, let it rest, and then shred it. Shredding frozen or partially frozen chicken can damage your tool and is not safe.
Q2: Is a meat shredder tool dishwasher safe?
Most high quality shredders are dishwasher safe, but I recommend checking the manufacturer instructions. I usually hand wash mine with warm soapy water to keep it in top condition for longer.
Q3: Can I shred other meats besides chicken?
Absolutely. I have used my shredder for pulled pork, beef brisket, turkey, and even jackfruit for a vegetarian option. It works great on any tender cooked meat.
Q4: How do I store shredded chicken?
Store shredded chicken in an airtight container in the refrigerator for up to 4 days or freeze it for up to 3 months. I like to portion it into meal sized bags for easy meal prep.
Q5: What if my chicken shreds are too small or too large?
You have full control over the size of your shreds. For smaller pieces, apply more pressure and make shorter pulling motions. For larger shreds, use longer gentle pulls. Experiment to find what works best for your recipes.
Tips and Alternative Methods
Let me share some additional tips and tricks that have worked wonders in my kitchen.
For Small Kitchens: If counter space is limited, shred the chicken directly in a large mixing bowl. This contains the mess and makes it easy to season and mix everything in one place.
Budget Friendly Tip: You do not need the most expensive shredder on the market. Look for one with good reviews, sturdy construction, and a comfortable grip. Sometimes mid range tools perform just as well as premium ones.
Beginner Tip: Start with boneless skinless chicken breasts or thighs if you are new to this. They are easier to handle and shred compared to a whole chicken.
Professional Tip: For restaurant quality shreds, shred the chicken while it is still slightly warm and immediately toss it with a bit of the cooking liquid and your seasonings. This locks in moisture and flavor.
Innovative Technique: Try using your shredder to mix and fluff cooked rice or quinoa. It works surprisingly well and saves you from dirtying another utensil.
Meal Prep Idea: Cook and shred multiple chickens at once, then portion and freeze them. You will have ready to use protein for quick weeknight dinners.
Alternative Method with a Stand Mixer: Place cooked chicken pieces in the mixer bowl, attach the paddle, and mix on low for about 10 to 15 seconds. Stop and check frequently to avoid over shredding.
Using Two Forks: If you are in a pinch without a shredder, hold the chicken steady with one fork and pull with the other. It takes longer but gets the job done.
Conclusion
Shredding a 3 lb chicken does not have to be a chore. With the right chicken shredder, you can turn this task into a quick and easy part of your cooking routine. From my experience, using a quality Meat Shredder Tool not only saves time but also improves the quality and consistency of your shredded chicken. Whether you are making tacos, salads, casseroles, or meal prepping for the week, this simple tool makes a huge difference. I encourage you to give this method a try, experiment with different seasonings and recipes, and share your results with friends and family. If you found this guide helpful, feel free to explore more kitchen tool reviews and recipes on our site. Happy cooking.
Final Verdict and Overall Recommendation
If you are serious about making meal prep easier, faster, and more enjoyable, investing in a high quality meat shredder is one of the smartest decisions you can make. After using several different tools over the years, I can confidently say that a dedicated shredder outperforms forks, mixers, and even your hands. It gives you perfect results every time with minimal effort. I highly recommend checking out this Meat Shredder Tool on Amazon. It has excellent reviews, a sturdy design, and a price point that offers great value for what you get. Do not wait until your next kitchen struggle. Grab one today and see the difference it makes in your cooking routine. Your hands and your taste buds will thank you.