Aroma rice cooker 4 Stunning Recipes Beyond Basic Grains
Introduction
Have you ever stood in your kitchen staring at that trusty rice cooker and wondered if it could do more than just cook rice? I used to think my aroma rice cooker was a one-trick appliance until one hectic weeknight changed everything. I was juggling dinner prep with a screaming toddler when I realized this humble countertop companion could actually rescue my entire meal plan. From my experience, most home cooks severely underestimate what their rice cooker can accomplish.
Let me tell you, discovering that your multicooker rice cooker can handle complete meals was a total game changer for my daily routine. In this article, we will explore four stunning recipes that go far beyond basic grains. You will learn how to create restaurant-quality dishes using simple techniques, discover common mistakes to avoid, and unlock the full potential of this versatile kitchen tool. Trust me, by the end of this guide, you will see your rice cooker in a completely new light.
Materials and Supplies
Getting the most from your rice cooker starts with having the right supplies ready. Let me break down what you will need to create these amazing recipes.
Essential Items:
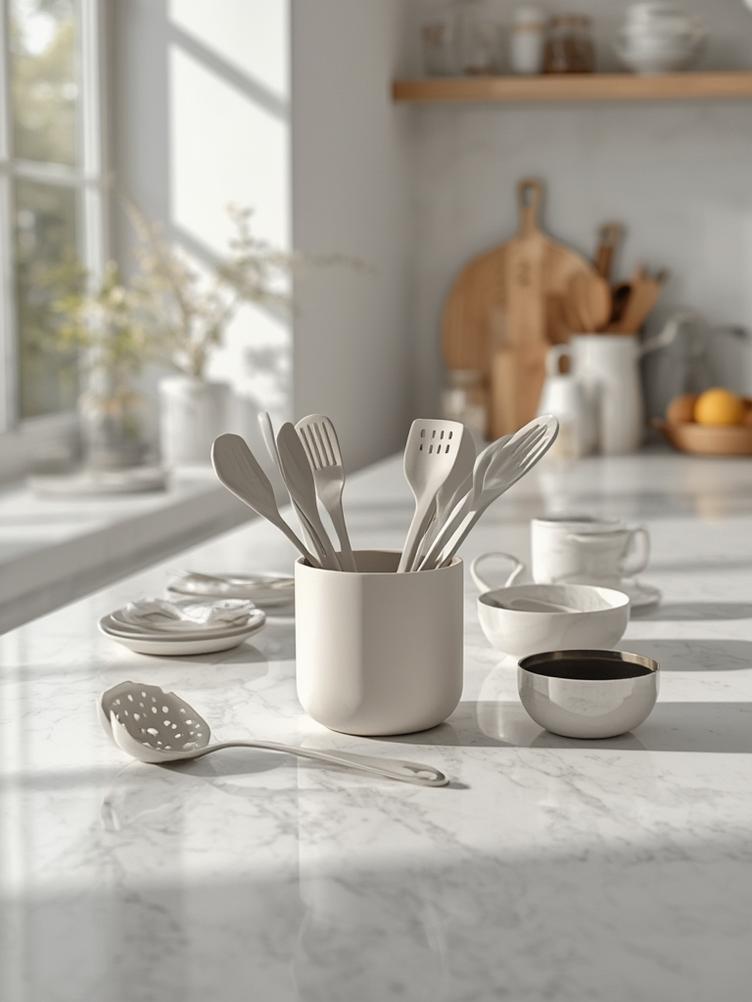
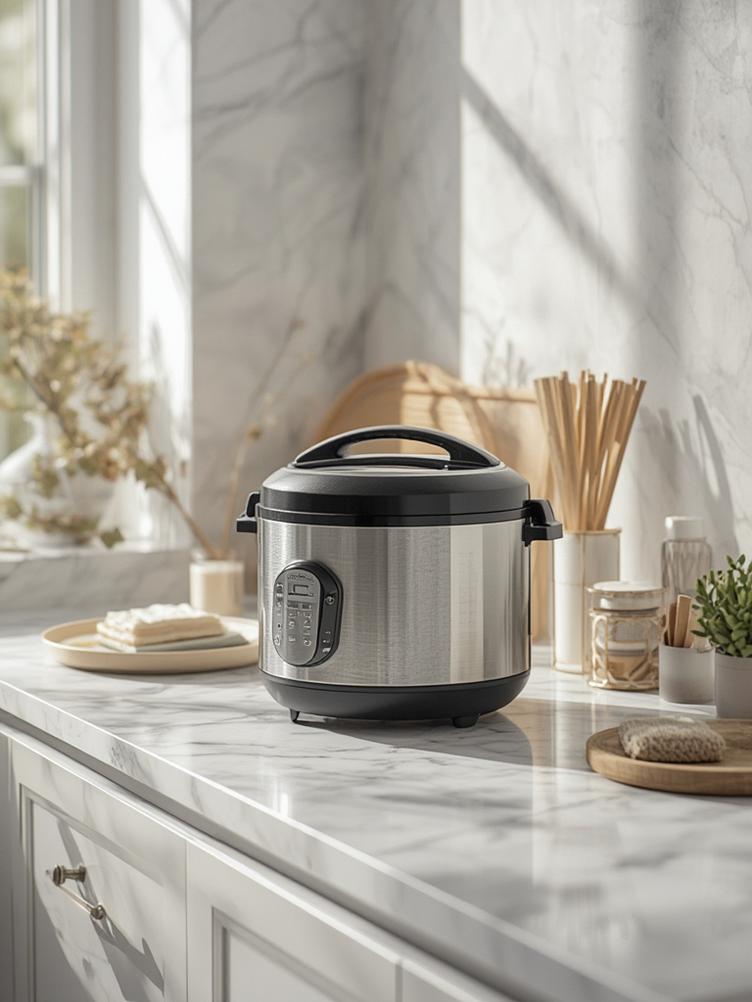
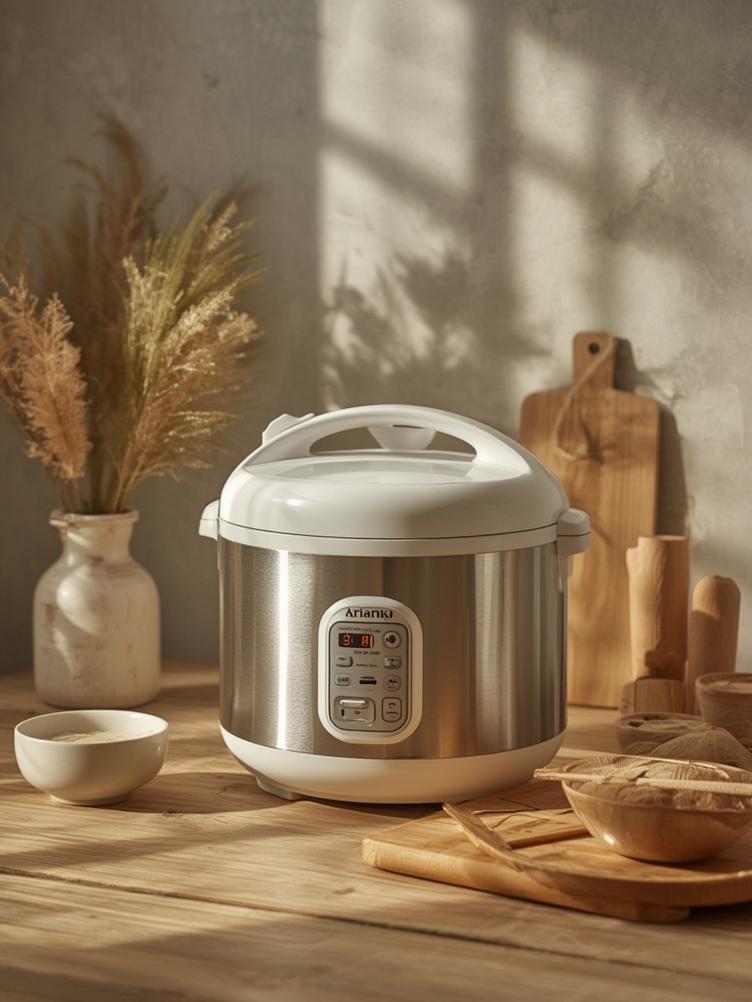
The aroma rice cooker itself is your foundation. Make sure you have the measuring cup that came with it because those measurements are specifically calibrated for your model. A silicone or wooden spatula prevents scratching the non-stick inner pot. You will also need the steaming tray that typically comes included, which opens up entirely new cooking possibilities. From my experience, keeping the instruction booklet handy helps you understand cooking times for different foods.
Optional But Helpful:
A set of small prep bowls makes ingredient organization so much easier. I personally love having a timer separate from my cooker just as a backup reminder. Kitchen tongs are incredibly useful when removing hot items from the steaming tray. A meat thermometer ensures proteins reach safe temperatures, especially when you are experimenting with new recipes.
Possible Alternatives:
If you lost your original measuring cup, a standard half-cup measure works for most models but always check your manual. Instead of the steaming tray, you can use a heat-safe bowl or plate that fits inside. Regular cooking spray can substitute for oil when preventing sticking. Aluminum foil works brilliantly for creating dividers or covering dishes during cooking.
Practical Tips:
Always read through your entire recipe before starting. Prep all ingredients first because once the cooker starts, timing matters. Keep a damp cloth nearby for quick cleanups. Store all your rice cooker accessories together in one drawer so you never waste time searching.
Step by Step Instructions
Now let us dive into four incredible recipes that showcase what your aroma rice cooker can really do. I have tested each one multiple times in my own kitchen, and they never disappoint.
Recipe 1: One-Pot Chicken and Vegetable Rice
1. Rinse one and a half cups of jasmine rice until the water runs clear, then drain thoroughly. This step removes excess starch and prevents gummy texture.
2. Place the rinsed rice in the inner pot and add two cups of chicken broth instead of water for richer flavor. I learned this trick from my grandmother and it makes such a difference.
3. Season eight ounces of boneless chicken thighs with salt, pepper, and your favorite herbs. Cut them into bite-sized pieces for even cooking.
4. Layer the chicken pieces directly on top of the rice without stirring. Trust me on this, keeping them separate initially prevents the rice from getting soggy.
5. Add one cup of frozen mixed vegetables around the chicken. Frozen works better than fresh here because they release moisture slowly during cooking.
6. Close the lid and select the white rice setting. The multicooker rice cooker will automatically adjust temperature and timing perfectly.
7. When the cooker switches to warm mode, let it rest for ten minutes before opening. This steaming time allows flavors to meld beautifully.
8. Gently fluff everything together with your spatula and serve immediately. The chicken will be tender and the vegetables perfectly cooked.
Recipe 2: Creamy Steel-Cut Oatmeal
1. Spray the inner pot lightly with cooking spray to prevent sticking. This simple step saves so much cleanup time later.
2. Add one cup of steel-cut oats to the pot. These heartier oats work better than quick oats in the grain cooker setting.
3. Pour in three cups of milk or your preferred dairy alternative plus one cup of water. The combination creates that creamy texture we all love.
4. Add a pinch of salt, one teaspoon of vanilla extract, and two tablespoons of brown sugar. Adjust sweetness based on your preference.
5. Stir everything together briefly, then close the lid and select the porridge setting if available, or use the white rice setting.
6. After the cooking cycle completes, stir well and let it sit for five minutes. The oatmeal will thicken as it cools slightly.
7. Serve with your favorite toppings like fresh berries, nuts, or a drizzle of honey. My kids love adding chocolate chips on weekend mornings.
Recipe 3: Steamed Salmon with Asparagus
1. Fill the inner pot with one and a half cups of water or white wine for added flavor. The liquid creates the steam necessary for cooking.
2. Place the steaming tray inside the cooker, making sure it sits securely above the water level.
3. Season two salmon fillets with lemon juice, dill, salt, and pepper. Let them sit for five minutes to absorb the flavors.
4. Arrange the salmon on one side of the steaming tray. Trim asparagus spears and place them on the other side.
5. Close the lid and press the steam setting, cooking for approximately twelve to fifteen minutes depending on fillet thickness.
6. Check the salmon with a fork, it should flake easily when done. The small rice cooker maintains consistent steam temperature for perfect results.
7. Remove carefully using tongs and serve immediately with rice or quinoa. This method keeps the fish incredibly moist and flavorful.
Recipe 4: Chocolate Lava Cake
1. Prepare four small ramekins by greasing them thoroughly with butter and dusting with cocoa powder. This prevents sticking and adds extra chocolate flavor.
2. In a bowl, melt four ounces of dark chocolate with four tablespoons of butter using your microwave in thirty-second intervals.
3. Whisk in one-third cup of sugar, two eggs, and two tablespoons of flour until smooth. The batter should be glossy and thick.
4. Divide the batter evenly among the prepared ramekins, filling each about two-thirds full.
5. Pour two cups of water into the inner pot and place the steaming tray inside. Carefully arrange the ramekins on the tray.
6. Close the lid and use the steam function for twenty to twenty-five minutes. The aroma rice cooker manual suggests checking at twenty minutes for gooey centers.
7. Let them cool for three minutes before inverting onto plates. Dust with powdered sugar and serve warm with ice cream.
8. The centers should be molten and rich while the edges are set. This impressive dessert always amazes dinner guests.
Advantages and Culinary Benefits
Using your rice cooker for diverse recipes brings so many benefits beyond just convenience. Let me share what I have discovered through years of daily use.
First, the time savings are absolutely real. You can prepare complete meals while focusing on other tasks or spending time with family. I regularly start dinner in my cooker and help my kids with homework while everything cooks perfectly without supervision. The automatic shut-off and keep-warm functions mean you never have to worry about burning food or precise timing.
Energy efficiency is another major advantage. Rice cookers use significantly less electricity than running your full oven, especially during hot summer months when you want to avoid heating up the entire kitchen. From my experience, this makes a noticeable difference in utility bills over time.
The health benefits should not be overlooked either. Steaming vegetables and proteins preserves more nutrients compared to boiling or high-heat cooking methods. You can easily control ingredients, avoiding the excess oils and sodium found in restaurant meals or processed foods. Plus, the sealed cooking environment locks in flavors so you need less salt for tasty results.
Cleanup is remarkably simple with most models featuring non-stick inner pots that wipe clean effortlessly. I spend maybe two minutes washing up after even complex recipes. That is a fraction of the time required when using multiple pots and pans for traditional cooking.
The versatility factor expands your cooking repertoire without requiring expensive specialty appliances. Why buy separate steamers, slow cookers, and porridge makers when one compact device handles everything? This is especially valuable for apartment dwellers or those with limited kitchen storage.
Finally, the foolproof nature of rice cooker cooking builds confidence for beginners. The preset functions eliminate guesswork, and consistent results help new cooks develop their skills without intimidation.
Common Mistakes to Avoid
Through trial and error, I have made plenty of mistakes with my rice cooker. Let me help you skip the learning curve by sharing what not to do.
Mistake 1: Overfilling the Pot
The problem here is that rice and grains expand significantly during cooking. I made this mistake myself during a dinner party, filling the pot to the brim with rice. The result was a starchy mess overflowing onto my counter and a cooker that struggled to cook evenly. The solution is simple but crucial. Never fill the inner pot beyond the maximum line indicated, which is typically around two-thirds full for grains. This allows proper expansion and steam circulation. When cooking liquids like soups or oatmeal, stay even more conservative with fill levels.
Mistake 2: Opening the Lid During Cooking
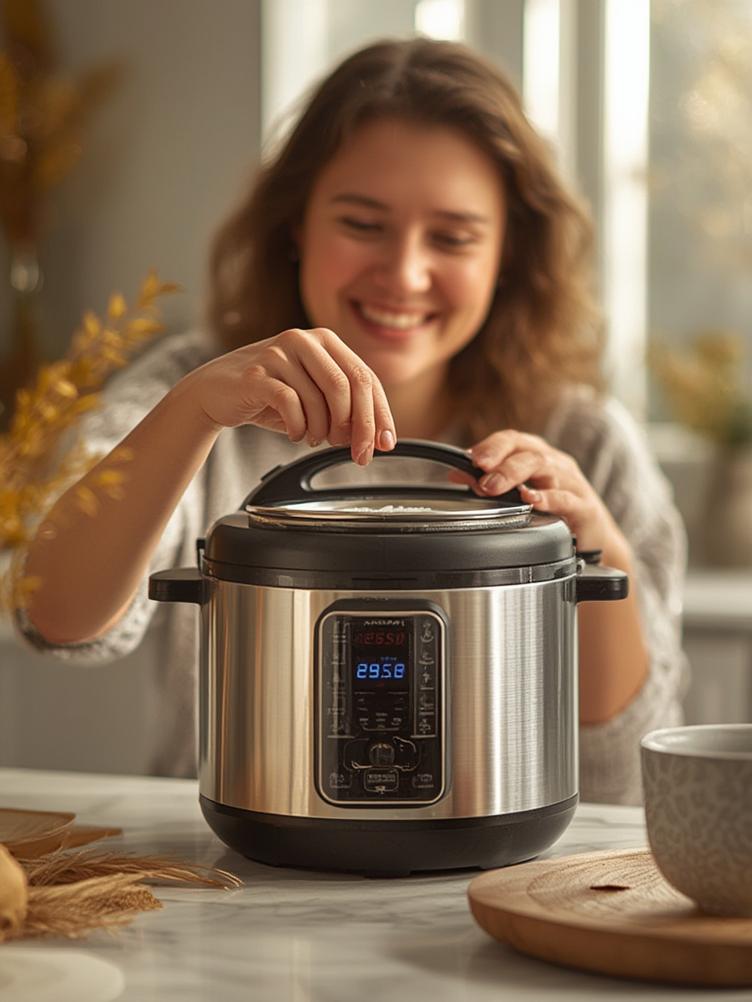
Trust me, I know the temptation to peek and check on your food is strong. However, every time you lift that lid, you release essential steam and drop the internal temperature. This extends cooking time and can result in unevenly cooked food. I learned this the hard way when my rice turned out crunchy on top and mushy on the bottom. The solution is to resist curiosity and trust the process. Modern rice cookers are engineered to work in a sealed environment. Only open the lid when the cooking cycle completes or the timer goes off. If you absolutely must check doneness, do it quickly and close the lid immediately.
Mistake 3: Not Rinsing Rice and Grains
Skipping the rinsing step seems like a time-saver but actually creates problems. Excess surface starch makes rice gummy and sticky in an unpleasant way. The first few times I used my grain cooker, I wondered why restaurant rice was so much fluffier than mine. The answer was proper rinsing. The solution involves placing your rice or grains in a fine-mesh strainer and rinsing under cold water while gently stirring with your hand. Continue until the water runs mostly clear, usually after three to four rinses. This simple step dramatically improves texture.
Mistake 4: Using the Wrong Rice-to-Water Ratio
Different types of rice and grains require specific water ratios, and using a standard measurement for everything leads to disappointing results. I once used the same ratio for brown rice as white rice and ended up with crunchy, undercooked grains. The solution is to consult your aroma rice cooker manual for specific ratios. As a general guide, white rice typically uses a one-to-one ratio, brown rice needs one-to-one-and-a-half, and steel-cut oats require a one-to-four ratio. Keep a reference chart taped inside your cabinet door for quick access.
Mistake 5: Neglecting Regular Cleaning
Starch buildup and residue accumulate over time, especially around the rim and lid components. I used to just wipe the inner pot and call it done. Eventually, I noticed off flavors and inconsistent heating. The solution involves a thorough cleaning after every few uses. Remove and wash the inner lid, steam vent, and condensation collector if your model has one. Wipe down the heating element area with a damp cloth once cooled. This maintenance extends your cooker life and ensures pure flavors in every dish.
FAQs
How long do rice cookers typically last with regular use?
From my experience, a quality aroma rice cooker easily lasts five to ten years with proper care and maintenance. I am still using the same model I bought seven years ago, and it works perfectly. The key factors affecting longevity include regular cleaning, avoiding abrasive scrubbers on the non-stick coating, and not dropping or damaging the inner pot. Some users report their cookers lasting even fifteen years. The heating element and circuitry are quite durable, and replacement inner pots are available if yours gets damaged.
Can I cook frozen ingredients directly in the rice cooker?
Yes, you absolutely can, and I do this regularly for convenience. Frozen vegetables work wonderfully when added to rice dishes or used in the steaming tray. Frozen proteins like chicken or fish can also go directly into the cooker, though they may require slightly longer cooking times. The multicooker rice cooker adjusts well to the temperature change. Just avoid massive frozen blocks that prevent proper heat distribution. Smaller pieces or pre-portioned frozen items work best. Add a few extra minutes to your cooking time and check for doneness before serving.
Is the non-stick coating safe for daily cooking?
This is a common concern, and I researched this thoroughly before using mine daily. Modern rice cookers use PFOA-free non-stick coatings that are considered safe when used properly. The key is avoiding high heat scratching with metal utensils, which can damage the coating and reduce its effectiveness. Always use silicone, wood, or plastic utensils. If you notice significant scratching or flaking, it is time to replace the inner pot. Most manufacturers sell replacement pots separately. Hand washing instead of dishwashing also extends coating life.
Can I leave cooked food on the warm setting overnight?
While the warm function keeps food at a safe temperature, I do not recommend leaving food for extended periods beyond four to six hours from a food safety perspective. Rice and grains can dry out and develop off textures when kept warm too long. Proteins can become tough or develop bacterial growth if held at improper temperatures for many hours. My rule is to transfer leftovers to the refrigerator within two hours of cooking completion. Reheat portions as needed in the microwave or back in the rice cooker with a splash of water.
Do I need to adjust cooking times at high altitudes?
Yes, altitude definitely affects cooking times and water ratios. Water boils at lower temperatures in high-altitude locations, meaning foods take longer to cook through. If you live above 3,000 feet elevation, you will likely need to add extra water and extend cooking times. Start by adding about ten to fifteen percent more liquid and check results. Your grain cooker might require some experimentation to find the perfect settings for your location. I suggest keeping notes on what works until you establish your ideal ratios.
Tips and Alternative Methods
Let me share some creative ways to maximize your rice cooker potential beyond standard recipes.
For Small Kitchens:
If counter space is precious, look for compact models that still offer multiple functions. Store your small rice cooker inside a cabinet and only bring it out when needed. Use it to replace multiple appliances, consolidating your tool collection. I keep mine on a rolling cart that tucks into a corner, and I roll it out for meal prep sessions. This saves permanent counter real estate while keeping it accessible.
Budget-Friendly Approaches:
You do not need the fanciest model with twenty functions to achieve great results. Basic models with simple white rice and steam settings handle most recipes beautifully. I started with an affordable fifteen-dollar cooker and used it successfully for years. Invest in a mid-range option once you are sure you will use it regularly. Watch for sales during holiday periods when kitchen appliances often see significant discounts.
For Beginners:
Start with simple recipes like basic white rice and steamed vegetables to build confidence. Master the fundamentals before attempting complex dishes. Keep a cooking journal noting your water ratios and timing for different foods. This creates a personalized reference guide. Join online communities where rice cooker enthusiasts share tips and troubleshooting advice. I learned so many tricks from other home cooks who experimented before me.
Professional-Level Techniques:
Once comfortable with basics, try layering flavors by toasting rice in a bit of oil before adding liquid. Experiment with substituting broths, coconut milk, or tea for cooking water. Use the steaming tray creatively by wrapping foods in parchment paper with herbs and aromatics. Create complete meal-prep sessions by cooking multiple components simultaneously using dividers in the steaming tray. I regularly prepare proteins, grains, and vegetables all at once for week-long lunches.
Innovative Uses:
Your aroma rice cooker can make yogurt by maintaining consistent low temperatures for fermentation. Prepare bread pudding or rice pudding for easy desserts. Cook dried beans without soaking by using the porridge setting with extended time. Make homemade baby food by steaming fruits and vegetables until soft, then blending. I even use mine for making infused simple syrups by heating sugar and water with herbs or fruit.
Seasonal Adaptations:
In summer, use your rice cooker to avoid heating your kitchen with the oven. Prepare cold grain salads by cooking quinoa or farro, then chilling and tossing with fresh vegetables. During winter, make warming porridges and hearty grain bowls. Holiday gatherings become easier when your cooker handles side dishes, freeing your oven for the main course.
Conclusion
We have covered so much ground exploring what your aroma rice cooker can truly accomplish beyond basic grains. From complete one-pot meals to impressive desserts, this humble appliance deserves a starring role in your kitchen routine. The four recipes I shared represent just the beginning of what is possible when you think creatively about this versatile tool.
Remember that mastering your aroma rice cooker comes down to understanding basic principles, avoiding common mistakes, and experimenting with confidence. Start with simple recipes and gradually build your skills. The advantages of time savings, energy efficiency, and simplified cleanup make this one of the hardest-working tools in any kitchen.
Whether you are using a basic model or a feature-rich multicooker rice cooker, the techniques and recipes I have shared will expand your cooking repertoire dramatically. From my experience, once you discover how versatile this appliance truly is, it becomes an indispensable daily companion.
I encourage you to try at least one new recipe this week and share your results. Explore more kitchen tool reviews and cooking techniques on our site to continue improving your skills. What will you create first in your rice cooker?
Final Verdict and Overall Recommendation
If you do not already own a quality rice cooker or your current model is outdated and underperforming, now is the perfect time to upgrade. The versatility, convenience, and consistent results make this investment worthwhile for any home cook, regardless of skill level.
I strongly recommend checking out the latest models with multiple preset functions that handle everything from steaming to slow cooking. The ability to prepare complete nutritious meals with minimal effort and cleanup transforms your daily cooking experience. For busy families, students, or anyone wanting to simplify meal preparation without sacrificing quality, this is the tool you need.
Visit this link to explore top-rated aroma rice cooker models and find the perfect option for your kitchen and budget. Read customer reviews, compare features, and take advantage of current deals. Trust me, you will wonder how you ever managed without this incredible kitchen companion. Make the investment today and start enjoying effortless, delicious meals tomorrow!