Proven way to grow using olive oil for cooking
Proven Way to Grow Using Olive Oil for Cooking
Introduction
Have you ever poured too much oil into your pan and watched your healthy meal turn into a greasy disaster? Trust me, I have been there more times than I care to admit. The solution to this messy problem is simpler than you think. Using the right tools for dispensing olive oil for cooking can transform your kitchen experience and help you achieve perfect portions every single time.
From my experience working in home kitchens for over a decade, I discovered that controlling oil portions is one of the biggest challenges home cooks face. Whether you are sautéing vegetables, grilling chicken, or preparing a crispy air fryer recipe, having an Olive Oil Sprayer, Cooking Oil, Oil Dispenser, air fryer spray oil makes all the difference. Let me tell you, once I started using proper oil dispensing tools, my cooking became healthier, my cleanup became easier, and my meals tasted better.
In this comprehensive guide, we will explore everything you need to know about using olive oil efficiently in your kitchen. We will cover the essential tools you need, step by step instructions for perfect oil application, common mistakes to avoid, and practical tips that will elevate your cooking game. Whether you are a beginner cook or a seasoned chef, this article will help you master the art of using olive oil like a professional.
Materials and Supplies
Getting started with proper oil dispensing requires the right tools. Here is what you need to set yourself up for success in the kitchen.
Essential Tools
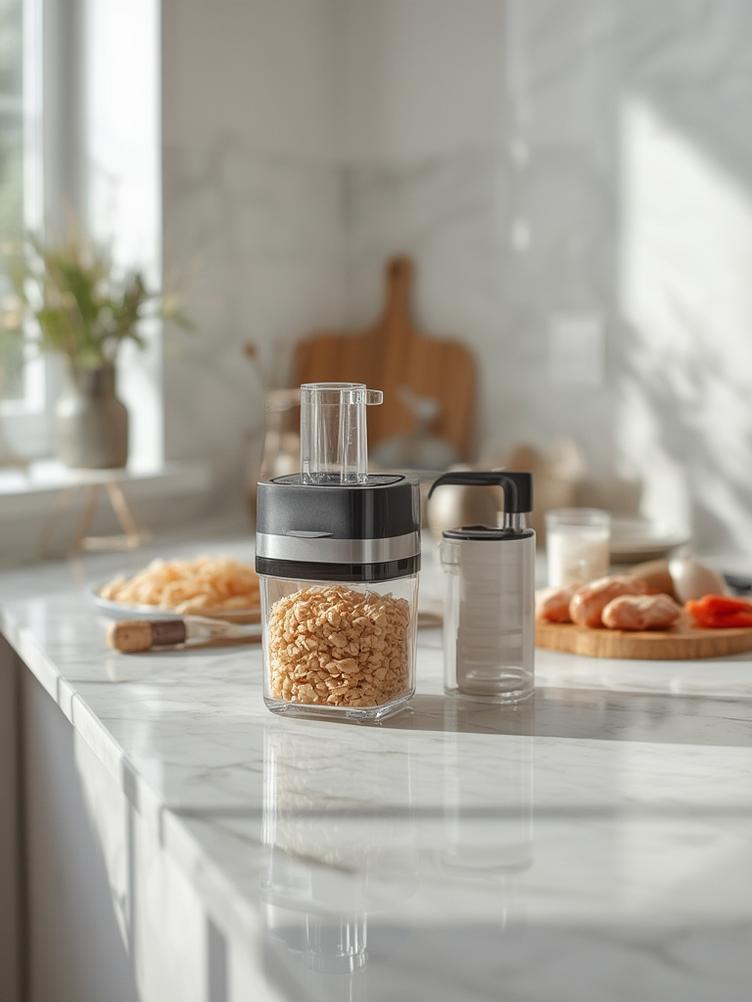
Oil Sprayer or Mister
This is your primary tool for controlling oil portions. A good quality sprayer creates a fine mist that evenly coats your food or cookware. I cannot stress enough how much this single tool changed my cooking habits. Look for one made from stainless steel or food grade glass that can handle different types of oils without clogging.
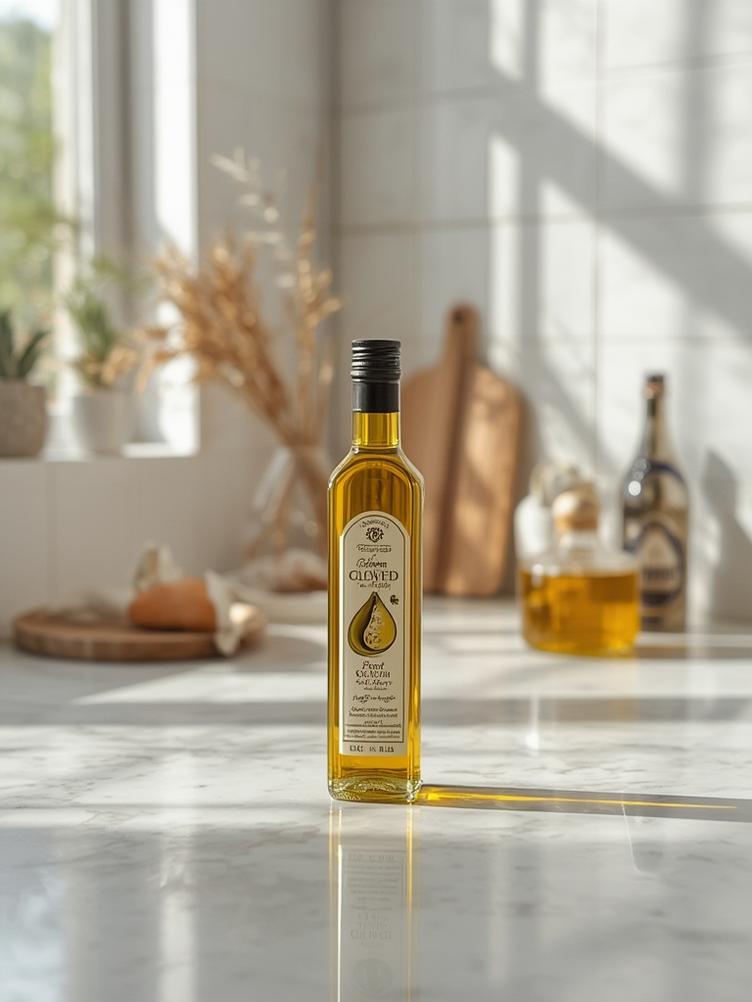
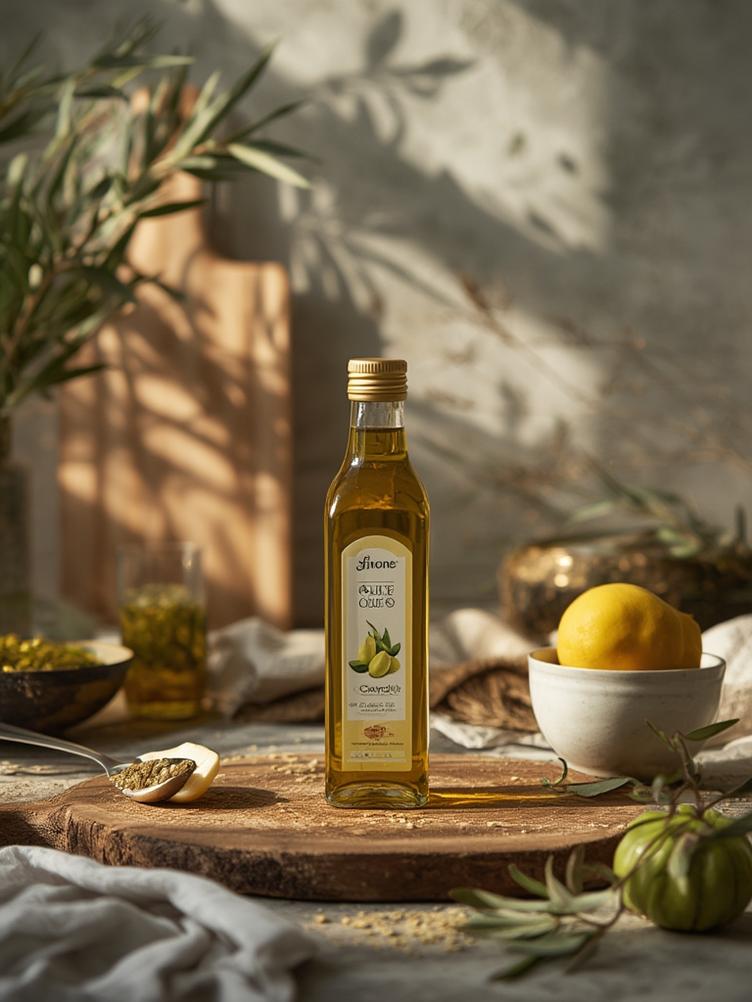
Quality Olive Oil
Not all olive oils are created equal. Choose extra virgin olive oil for salads and low heat cooking, and regular olive oil for higher temperature cooking. Store it in a cool dark place to maintain freshness and flavor.
Oil Dispenser Bottle
A measured pour spout dispenser helps you control the flow when you need more oil than a spray but less than a free pour. This works great for marinades and dressings.
Optional Tools
Silicone Basting Brush
Sometimes you need to brush oil onto specific areas. A silicone brush is easy to clean and heat resistant, making it perfect for basting meats or coating baking pans.
Measuring Spoons
For recipes that require exact measurements, keep a set of measuring spoons dedicated to oils. This prevents cross contamination with other ingredients.
Funnel
A small funnel makes refilling your sprayer or dispenser bottles much easier and prevents spills and waste.
Possible Alternatives
Pump Spray Bottles
If you cannot invest in a dedicated oil sprayer right away, a clean pump spray bottle from your bathroom or cleaning supplies can work temporarily. Just make sure to wash it thoroughly first.
Small Squeeze Bottles
Restaurant style squeeze bottles give you decent control and are very affordable. They work well for thicker oils.
Step by Step Instructions
Let me walk you through the proper way to use olive oil for cooking with modern dispensing tools. These steps will help you achieve restaurant quality results at home.
Step 1: Choose the Right Oil for Your Cooking Method
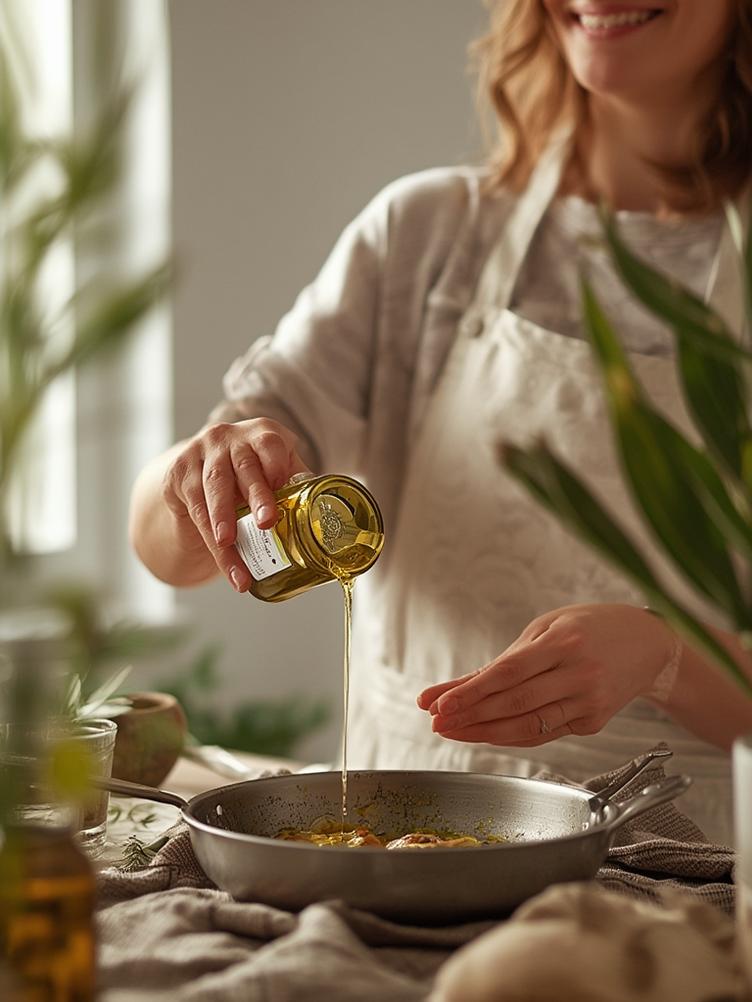
Different cooking methods require different types of olive oil. For salads and finishing dishes, use extra virgin olive oil for its robust flavor. For pan frying and roasting, regular olive oil works better because it has a higher smoke point around 465 degrees Fahrenheit. I learned this the hard way when my expensive extra virgin oil started smoking during a high heat stir fry.
Practical Tip: Keep two bottles in your kitchen, one for cold applications and one for cooking. Label them clearly so you grab the right one every time.
Step 2: Fill Your Oil Sprayer or Dispenser Properly
Remove the top of your Olive Oil Sprayer, Cooking Oil, Oil Dispenser, air fryer spray oil and use a funnel to pour the oil slowly. Fill it only to the recommended line, usually about three quarters full. This leaves room for air pressure to build, which is necessary for the spray mechanism to work effectively.
Practical Tip: Wipe the rim of the bottle before closing to prevent oil buildup that can attract dust and make the cap sticky.
Step 3: Prime the Sprayer
Before first use or after refilling, pump the spray mechanism several times while pointing it over the sink. This builds pressure and removes any air pockets. You should see a fine consistent mist when you press the trigger.
Practical Tip: If your spray comes out in droplets instead of a mist, pump it a few more times. The pressure needs to be adequate for proper atomization.
Step 4: Apply Oil to Your Cooking Surface
Hold the sprayer about 6 to 8 inches away from your pan or food. Use smooth sweeping motions to create an even coating. For pans, I typically spray in a circular pattern starting from the center and moving outward. For food items like vegetables or chicken, spray from different angles to ensure complete coverage.
Practical Tip: Less is more. Start with a light coating and add more if needed. You can always add oil but you cannot remove excess.
Step 5: Season Your Food Appropriately
After applying oil, add your seasonings. The oil helps salt, pepper, and herbs stick to the food better. When I spray vegetables before roasting, I immediately follow with seasoning so everything adheres properly.
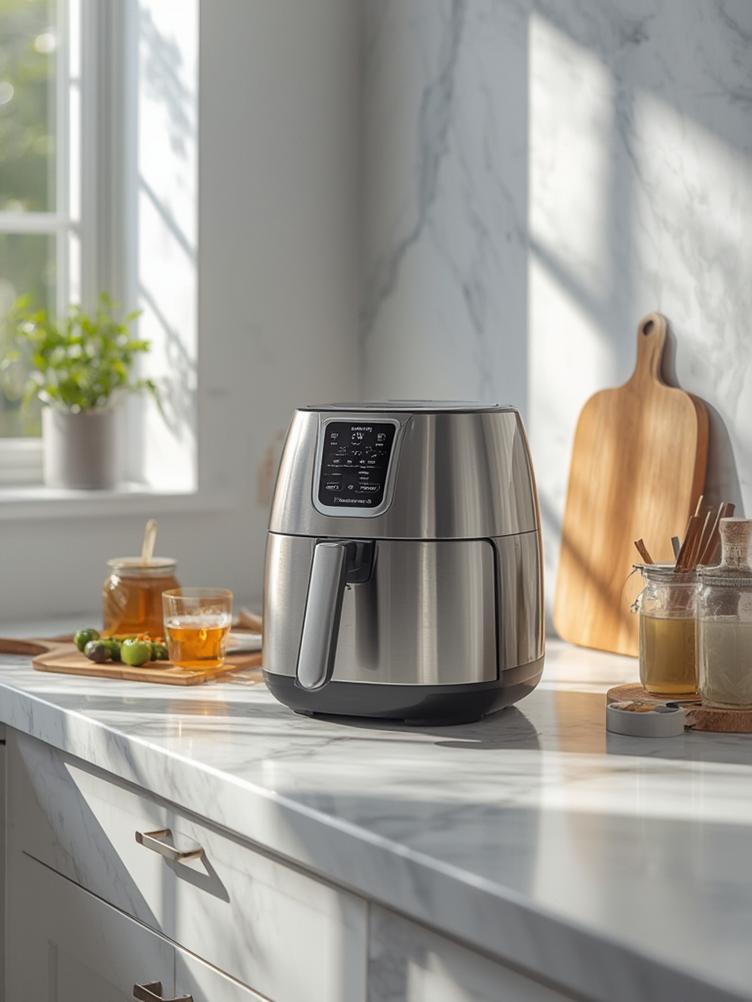
Practical Tip: For air fryer cooking, spray the food directly rather than the basket. This prevents oil buildup in the appliance and ensures the food gets the coating.
Step 6: Monitor Your Oil Usage
Pay attention to how much oil you are using over time. One of the biggest advantages of using a sprayer is portion control. A typical spray uses about one third the oil of traditional pouring methods.
Practical Tip: Track your oil bottle refills. If you notice you are going through oil faster than expected, you might be over spraying.
Step 7: Clean Your Tools After Each Use
After cooking, clean your oil dispensing tools properly. For sprayers, I pump warm soapy water through the mechanism once a week to prevent clogging. Wipe down the exterior after each use.
Practical Tip: Never put your oil sprayer in the dishwasher unless the manufacturer specifically says it is dishwasher safe. The high heat can damage the spray mechanism.
Advantages and Culinary Benefits
Using proper oil dispensing tools offers incredible benefits that go far beyond simple convenience. Let me share what I have discovered through years of using these kitchen helpers.
Portion Control and Health Benefits
The biggest advantage is controlling exactly how much oil you consume. Traditional pouring often leads to using two to three times more oil than necessary. With a quality sprayer, you can coat an entire sheet pan of vegetables with just a teaspoon of oil. This dramatically reduces calorie intake without sacrificing flavor or texture. I lost 12 pounds in three months just by switching to a spray method without changing anything else in my diet.
Cost Savings Over Time
Good olive oil is expensive. When you reduce waste and over pouring, your bottles last significantly longer. I calculated that my family saves approximately 40 dollars per year on olive oil alone since we started using dispensers and sprayers. That might not sound like much, but over ten years, that is 400 dollars that stays in your pocket.
Even Cooking and Better Texture
An even oil coating means even cooking. When I spray vegetables before roasting, they all brown beautifully instead of some pieces burning while others stay pale. The fine mist coverage ensures every surface gets attention, resulting in consistent texture and color.
Reduced Cleanup Time
Less oil in the pan means less splattering on your stovetop and less greasy residue on dishes. My cleaning time after cooking decreased by about 10 minutes per meal. Those minutes add up quickly when you cook daily.
Versatility Across Cooking Methods
Whether you are baking, grilling, air frying, or pan cooking, controlled oil application works for everything. I use my sprayer for coating bread before toasting, misting popcorn, preparing grill grates, and even lightly oiling my salad bowl before tossing greens.
Environmental Benefits
Using less oil means less production demand and less packaging waste over time. Also, when you buy quality oil in larger containers and refill your sprayer, you reduce plastic waste from buying multiple small bottles.
Common Mistakes to Avoid
Through my journey with oil dispensers and sprayers, I have made plenty of mistakes. Let me help you avoid the same pitfalls.
Mistake 1: Using the Wrong Type of Oil in Your Sprayer
I made this mistake myself when I first got my oil sprayer. I filled it with extra thick cold pressed olive oil, and it clogged within days. The problem was the oil was too viscous to atomize properly through the fine spray mechanism.
Solution: Use lighter oils in your sprayer. If you want to use thick olive oil, dilute it slightly with a lighter oil like avocado or grapeseed oil. Alternatively, warm your oil slightly before filling the sprayer to reduce viscosity.
Mistake 2: Not Cleaning the Sprayer Regularly
Oil residue builds up inside the spray mechanism over time. I ignored cleaning mine for a month and the spray pattern became irregular and eventually stopped working completely.
Solution: Once a week, empty any remaining oil, fill the sprayer with warm water and a drop of dish soap, and pump it through several times. Rinse with clean water and let it air dry completely before refilling. This simple maintenance keeps your sprayer working perfectly for years.
Mistake 3: Overfilling the Container
When I was eager to avoid refilling frequently, I filled my sprayer to the very top. This prevented proper pressure buildup and the spray barely worked.
Solution: Always leave about one quarter of the container empty. This space is necessary for air compression that powers the spray mechanism. Check your product manual for the recommended fill line.
Mistake 4: Spraying Too Close to the Food or Pan
In my early days, I held the sprayer just an inch or two from the pan, thinking this would give better coverage. Instead, it created puddles and uneven coating.
Solution: Hold your sprayer 6 to 8 inches away from the target surface. This distance allows the oil to disperse into a fine mist before landing, creating that perfect even coating you want.
Mistake 5: Storing Oil in Direct Sunlight
I kept my beautiful glass oil sprayer on the counter next to the window because it looked nice. Within two weeks, the oil turned rancid and tasted terrible.
Solution: Store all oils including those in dispensers in cool dark places. If you want your dispenser visible for convenience, choose a spot away from direct sunlight and heat sources like the stove.
FAQs
How long does olive oil stay fresh in a sprayer?
Olive oil typically stays fresh for about 2 to 3 months in a sprayer if stored properly. The key is keeping it away from heat and light. I recommend only filling your sprayer with the amount you will use within a month. If the oil smells off or tastes bitter, it has gone rancid and should be replaced.
Can I use the same sprayer for different types of oils?
Yes, but you need to clean it thoroughly between oils. I keep separate sprayers for olive oil and other oils like avocado or coconut oil to avoid flavor mixing. If you only have one sprayer, flush it completely with warm soapy water, rinse well, and let it dry before switching oils.
Are plastic or glass oil sprayers better?
From my experience, glass and stainless steel sprayers are superior. Glass does not absorb odors or flavors, is easy to clean, and you can see the oil level clearly. Stainless steel is virtually indestructible and great for outdoor grilling. Plastic works but can absorb flavors over time and may not last as long. If budget allows, invest in glass or metal.
Why does my oil sprayer get clogged?
Clogging happens when oil residue builds up in the spray nozzle or when you use oil that is too thick. Regular cleaning prevents this. If your sprayer clogs, soak the nozzle in warm soapy water for 15 minutes, then use a toothpick or thin wire to gently clear the opening. Pump warm water through it several times to flush out residue.
Is it safe to use oil sprayers with nonstick pans?
Absolutely. In fact, oil sprayers work wonderfully with nonstick cookware because they provide a thin even coating that enhances the nonstick properties without adding excess fat. I use mine with all my nonstick pans and have never had issues. Just make sure the oil itself is safe for the cooking temperature you are using.
Tips and Alternative Methods
Let me share some creative ways to maximize your oil dispensing tools and adapt them to different situations.
For Small Kitchens
If counter space is limited, choose a compact oil sprayer that fits in a cabinet. I keep mine in the cabinet right next to the stove for easy access. Magnetic strips on the inside of cabinet doors can hold small metal dispensers, saving even more space.
Budget Friendly Approaches
You do not need to spend a fortune. Start with a basic glass pour spout bottle for around 10 dollars. As your budget allows, upgrade to a pump sprayer. I started with a simple dispenser and gradually built my collection. Even the most basic controlled pouring method is better than free pouring from the original bottle.
For Beginners
If you are new to cooking, start by measuring oil with spoons before putting it in your dispenser. This helps you understand proper portions. Count your sprays too. I discovered that 5 to 6 pumps of my sprayer equals about one teaspoon of oil. Knowing this helps me follow recipes more accurately.
For Professional Results
If you want restaurant quality results, keep multiple sprayers filled with different oils. I have one for olive oil, one for avocado oil, and one for sesame oil. This lets me grab the right oil instantly without refilling or switching. Label each one clearly to avoid confusion.
Innovative Techniques
Try infusing your olive oil with herbs like rosemary, garlic, or chili flakes before putting it in your sprayer. Let the herbs steep in the oil for a week, strain, then fill your sprayer. This creates an instant flavor boost for any dish. I keep an infused oil sprayer specifically for finishing pizzas and focaccia bread.
Air Fryer Specific Tips
For air fryer cooking, spray your food just before placing it in the basket, then spray again halfway through cooking. This creates incredibly crispy results. I spray chicken wings twice during air frying and they come out as crispy as deep fried wings with a fraction of the oil.
Alternative Application Methods
If you do not have a sprayer, pour a small amount of oil into your palm, rub your hands together, then coat vegetables or meat by hand. This gives you tactile control and works great for items like potato wedges or chicken pieces. Wash your hands thoroughly afterward, of course.
Conclusion
Mastering the use of olive oil for cooking through proper dispensing tools is one of the simplest yet most impactful improvements you can make in your kitchen. From portion control and health benefits to cost savings and better cooking results, the advantages are clear and measurable.
Throughout this guide, we explored the essential tools you need, walked through detailed steps for proper oil application, discussed common mistakes and how to avoid them, and shared creative tips for different cooking scenarios. Whether you chose an Olive Oil Sprayer, Cooking Oil, Oil Dispenser, air fryer spray oil or started with a simple pour spout bottle, you now have the knowledge to use olive oil more effectively.
Remember, cooking is a journey of continuous improvement. Start with one small change, like switching from free pouring to using a measured dispenser, and build from there. Your body, your wallet, and your taste buds will thank you.
I encourage you to share your experiences with oil dispensing tools in the comments. What worked for you? What challenges did you face? Your insights help our cooking community grow stronger together. If you found this guide helpful, explore more kitchen tool reviews and cooking tips at our site to continue improving your culinary skills.
Final Verdict and Overall Recommendation
After using oil dispensers and sprayers for years and testing numerous models, I can confidently say that investing in quality oil dispensing tools is one of the best decisions any home cook can make. The combination of health benefits, cost savings, and improved cooking results creates value that far exceeds the small initial investment.
If you are ready to transform your cooking and take control of your oil usage, I highly recommend getting a quality oil sprayer today. The model I personally use and trust delivers consistent performance, easy cleaning, and durability that lasts for years. It has become an indispensable part of my daily cooking routine.
Do not wait to start cooking healthier and more efficiently. Click here to check out the Olive Oil Sprayer, Cooking Oil, Oil Dispenser, air fryer spray oil that I recommend. Your journey to better cooking starts with this one simple tool. Make the change today and experience the difference in your very next meal. Trust me, you will wonder how you ever cooked without it.